To achieve an offset grab we will be inheriting from the XR Grab Interactable and modifying it just a bit. Skip ahead to XR Offset Grab Interactable for the main tutorial. The code below comes straight from Valem’s Introduction to VR in Unity - PART 5 : GRAB INTERACTION tutorial but this one is slightly updated to work for Unity version’s 2022.1 and above as some of the code from this video is now deprecated in the newer versions of Unity. For another great and even simpler tutorial check out Andrew’s Simple Offset Interactable for XR Toolkit (Update). Andrew’s version has the pro of being simple but a con of not working with socket interactors, the video goes into details.
Background Context Needed to Better Understand Tutorial
Jump over to this other blog on the types of Interactions in Unity VR to better understand how the XR Grab Interactable class works and what Attach Transforms are. Those are the two main things we’ll be modifying so when you’re clear on that come back here for the rest of the Offset Grab tutorial.
This tutorial builds off of what was set up in the previous Interactions in Unity VR. If you haven’t gone through it, it's ok, just make sure your project has an XROrgin with at least one controller set up with a Direct Interactor.
XR Offset Grab Interactable
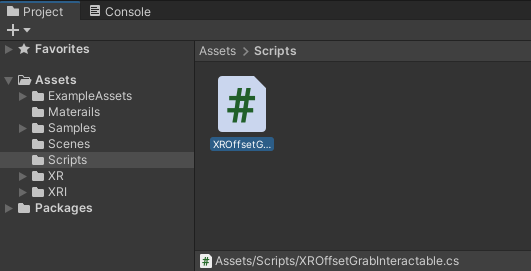
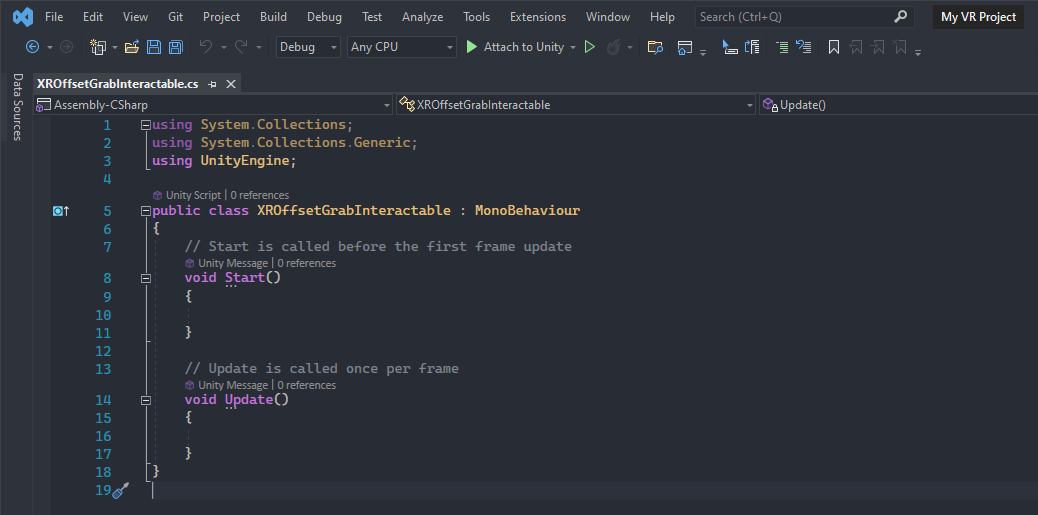
Create a Scripts folder inside your Assets folder in the Project window. In your scripts folder create and open a new script named ‘XROffsetGrabInteractable’ (To create a new script, right click in the Scripts folder and navigate to Create > C# Script).
Namespaces, Inheritance, and Variables
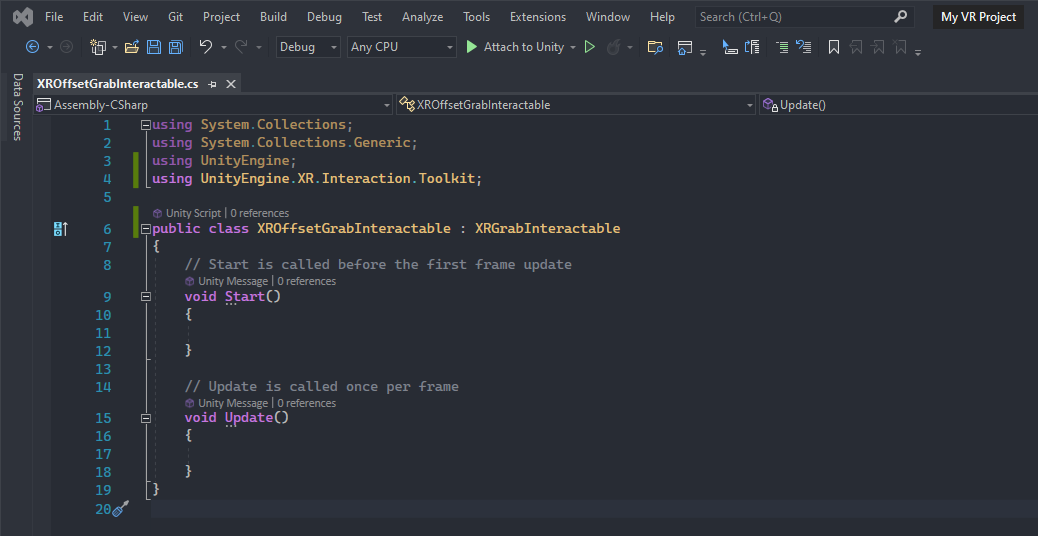
We need to import the namespace ‘UnityEngine.XR.Interaction.Toolkit‘. You can think of a namespace as a collection of classes. The specific class we want to use from this namespace is ‘XRGrabInteractable’ which is a script that you’ll recall we attached to the red ball in the previous tutorial. Like mentioned above we’re going to modify this script/class, but first we need to inherit from it before we have access to its functions.
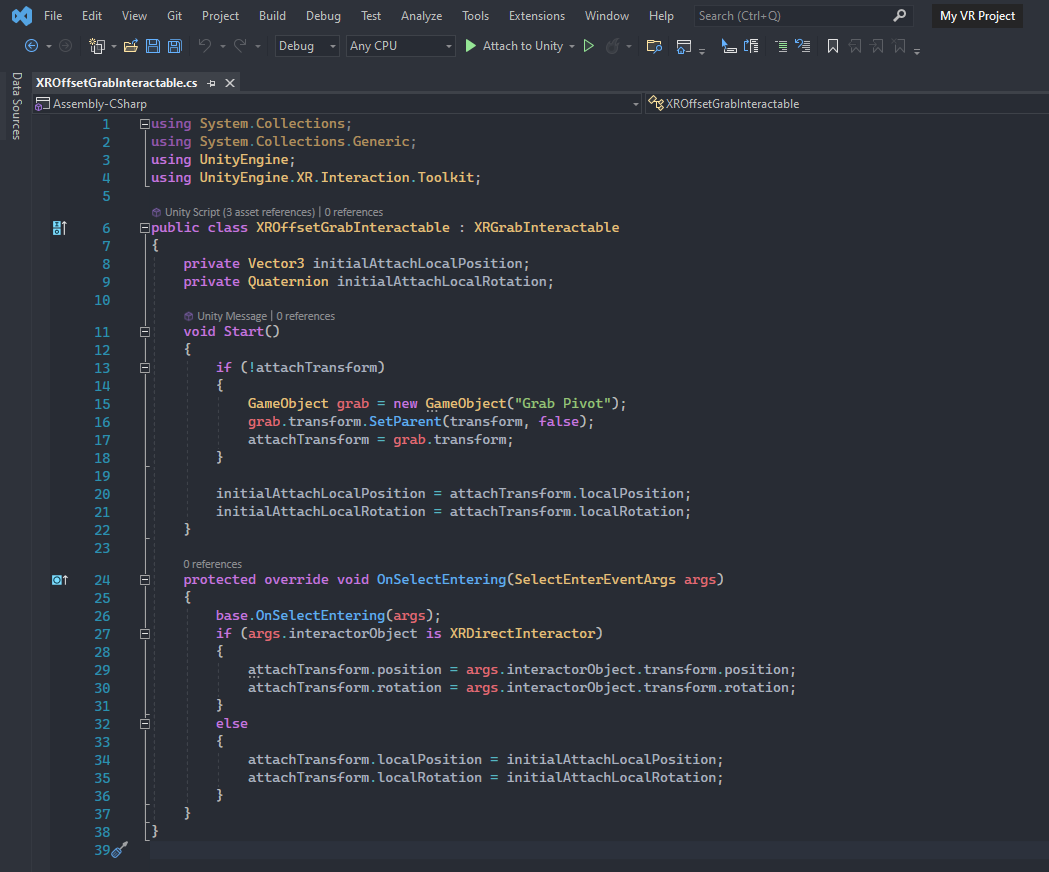
Import namespaces by adding ‘using UnityEngine.XR.Interaction.Toolkit;‘ to line 4 and inherit from ‘XRGrabInteractable’ by changing ‘MonoBehaviour’ in line 6 to ‘XRGrabInteractable’. Remember to constantly save changes so that they can apply in the Unity Editor.
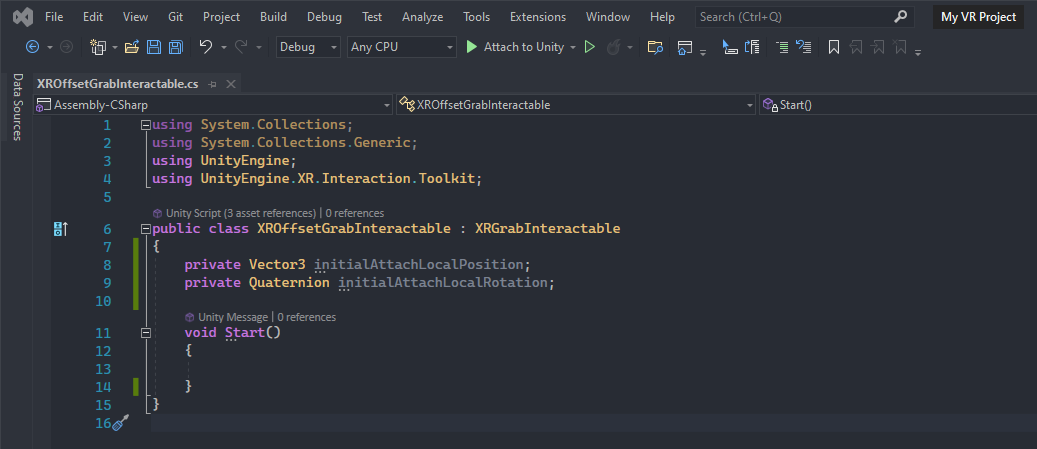
We’ll need to store the initial Attach Transform local position and local rotation in two private variables (line 8 and line 9). Go ahead and also delete the Update() function and any comments as we’ll be adding our own.
The trick we’re going to do to create the illusion of an Offset Grab is that we will quickly change the Attach Transform position and rotation (of the offset grab object) to wherever our Direct Interactor hand controller’s Attach Transform is the second that hand controller begins to grab (Select Entered in Unity terms) the object. It’ll be broken down further below but for now we’ll need to check if we have an Attach Transform we can manipulate.
Start()

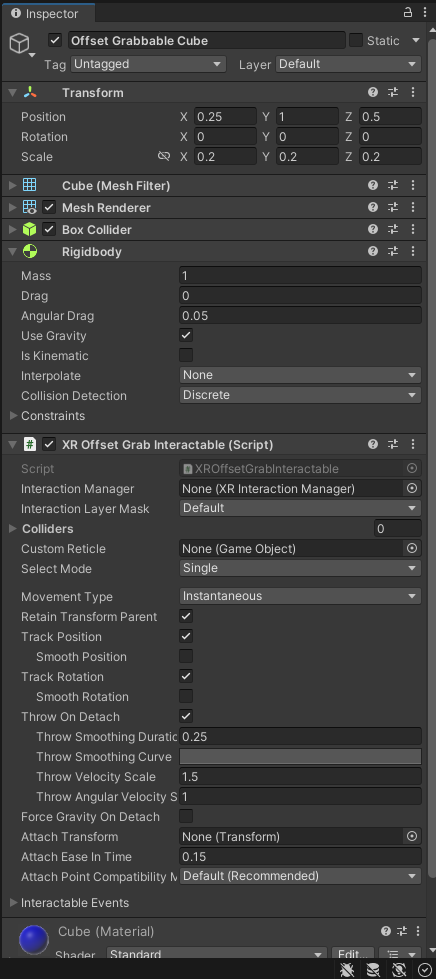
In the Start() function check to see if we have an ‘attachTransform’ (line 13). Notice this variable is undefined in our script but there are no errors, that’s because this variable is inherited from ‘XRGrabInteractable’ and defined there. This ‘attachTransform’ variable references the same Attach Transform slot that can later be filled via the Editor in this same ‘XROffsetGrabInteractable’ script component once it has been finished and added to an object. Here’s a preview of the complete script component with an empty Attach Transform slot.
In case that slot stays empty, we’ll need to create and name a GameObject to be our attachTransform (line 15). Then to keep things tidy we’ll make the new grab attachTransform GameObject a child of this transform by using the SetParent() function (line 16) (this transform is whatever GameObject this script component is attached to). Finally set the attachTransform equal to the newly created grab GameObject (line 17).
Now that we’ve taken care of that case we can automatically set initialAttachLocalPosition and initialAttachLocalRotation (line 20 and line 21) to the newly created attachTransform or, if the slot is not left empty, the code will skip over lines 14-18 and use the attachTransform the game designer sets in the Editor.

OnSelectEntered()
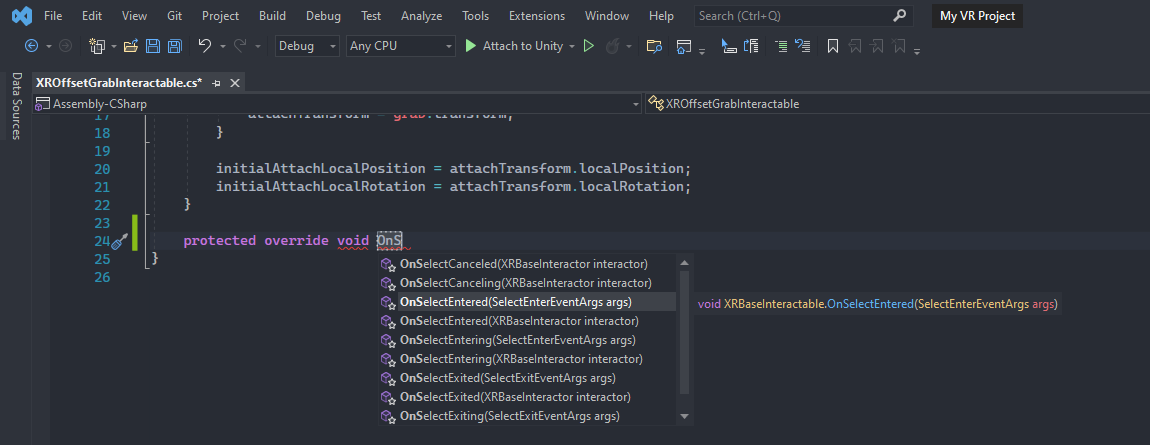
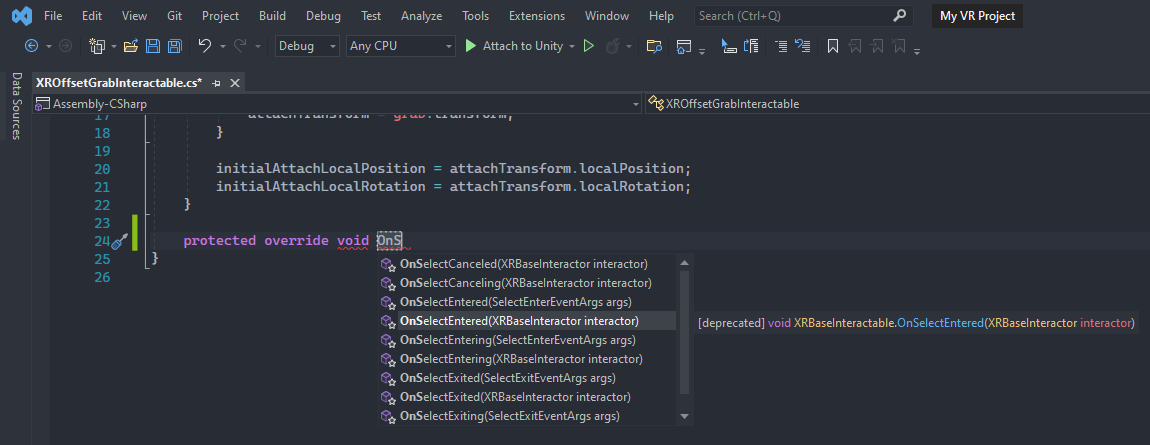
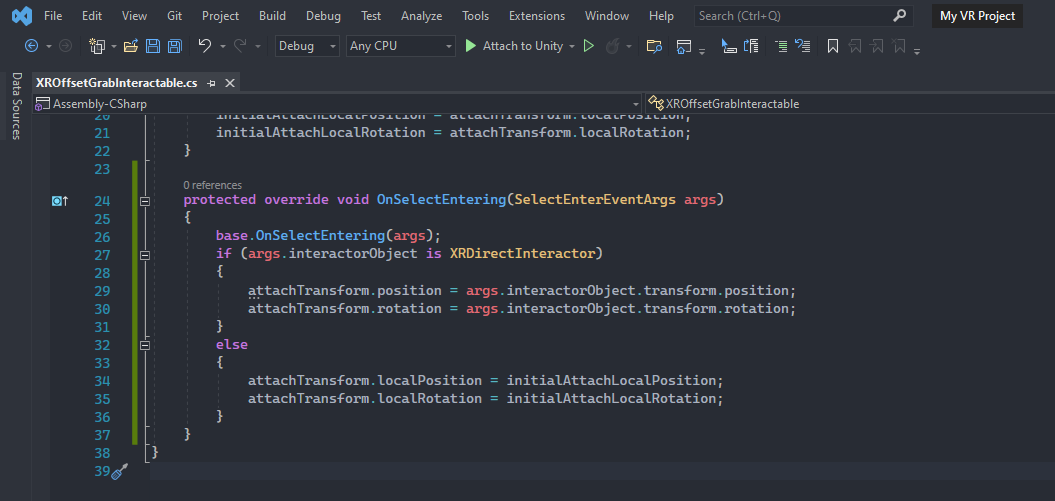
Now that we have an attach transform with saved initial position and rotations we can move the attach transform to perform the illusion. We’ll need to slightly change the base OnSelectEntered() function inherited from ‘XRGrabInteractable’ by overriding it. (Here’s a list of all the overridable interactable events you can modify in script). Make sure to use ‘OnSelectEntering(SelectEnterEventArgs args)’ not ‘OnSelectEntering(XRBaseInteractor interactor)’ as that one is now deprecated.
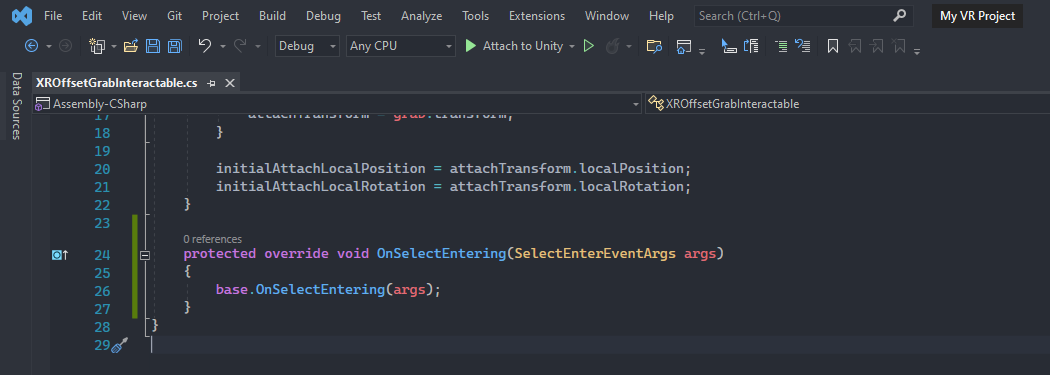
The function will come with a ‘base.OnSelectEntering(args);’ as well seen below (line 26).
This args parameter gives us access to important information like what interactor is trying to interact with this interactable object and even more specific details like what kind of interactor it is. Since we only want our ‘XROffsetGrabInteractable’ to work with ‘XRDirectInteractor’ we’ll use an if-else statement to see if ‘args.interactorObject is XRDirectInteractor’ (line 27). If it is then we can do our magic and quickly change the attachTransform’s position and rotation to the interactorObject’s transform’s position and rotation, thus achieving an offset grab (line 29 and line 30). If it's not an ‘XRDirectInteractor’ then it could be something else like an ‘XRRayInteractor’ or an ‘XRSocketInteractor’ where we don’t want the attachTransform to move. In those cases we can go ahead and reset the attachTransform’s position and rotation to the initialAttachLocalPosition and initialAttachLocalRotation (line 34 and line 35) we figured out back in the Start() function.
That’s it! An XR Offset Grab Interactable is all done. Attach this script to any object you want to offset grab with a direct interactor hand controller. Here’s the full script:
Set Up Offset Grab Cube
Create a new primitive 3D Cube Object game and name it ‘Offset Grabbable Cube’. Rescale and reposition the cube beside the previous red ball and add a new blue ‘Cube’ material.

Press Add Component and search for ‘XROffsetGrabInteractable’ the script we just finished writing and add it to the ‘Offset Grabbable Cube’ game object. Notice that when we add the script it also automatically adds a Rigidbody. That is because we inherited from ‘XRGrabInteractable’ and that script requires the game object to have a Rigidbody so we inherit that requirement in our script.

At this point everything is all set. Hit the play button to check out offset grabbing the blue cube with your Direct Interactor hand controller (make sure the cube’s collider and your hand’s controller collider intersect to be able to grab). You can also still grab this cube with your Ray Interactor hand controller but it won’t be an offset grab, rather it’ll snap to the attach transform (this object doesn’t have an attach transform so it will use the Transform of the game object that the script it is attached to).
P.S. I switched off ‘Use Gravity’ for the blue cube and set it to ‘Is Kinematic’ (in the Rigidbody component) so it would float and I didn’t have to keep picking it up when I dropped it.